
- Go to the Admin Dashboard
Log into Nrich Learning, then navigate to your admin dashboard:
- Open Institute Manager
In the dashboard sidebar / menu, click Institute Manager
- Click on “Certificate”
Inside Institute Manager, find and click Certificate (or Certificates)
- Example- Existing Certificates
Here you can see few already created certificates
- Create a New Certificate
Click Create Certificate to start formulating a new certificate template
- Map your certificate

- Enter Certificate Name & Mapping
- Type in a meaningful Certificate Name
- Map the certificate (i.e. define which course, batch, or criteria it applies to)

- Type in a meaningful Certificate Name
- Select Course & Batch & Save
Choose the Course and Batch for which the certificate should be issued, then click Save
9. Add Left Logo, Right Logo, and Signature by clicking on their respective fields
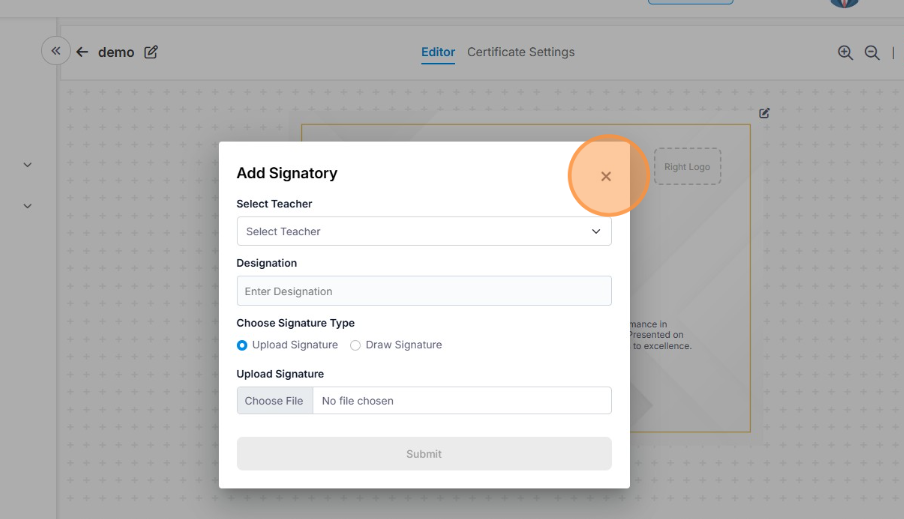
10. Select the Teacher for whom you want to add the signature.
Choose the Designation of that teacher. You can either Upload the signature image or Draw it manually. If uploading, select the file and then click on Submit Form.
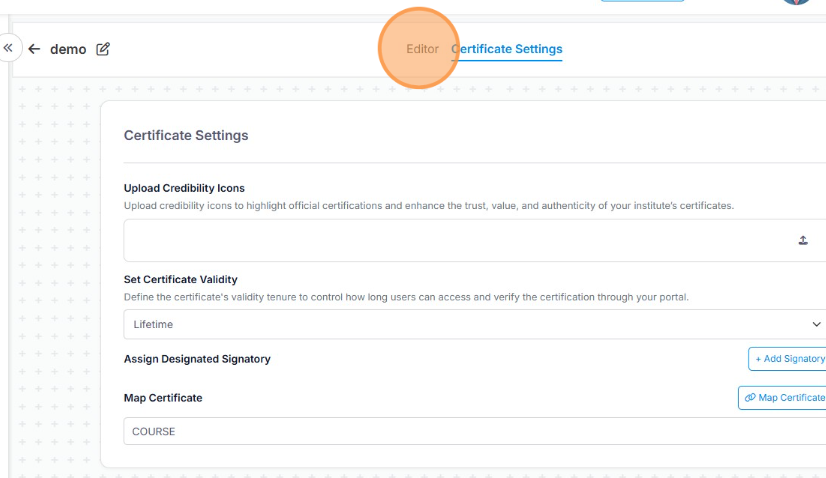
11. Click on Certificate Settings — a new window will open
From here, you can upload a credibility icon, set certificate validity, and map or change the course linked to the certificate.
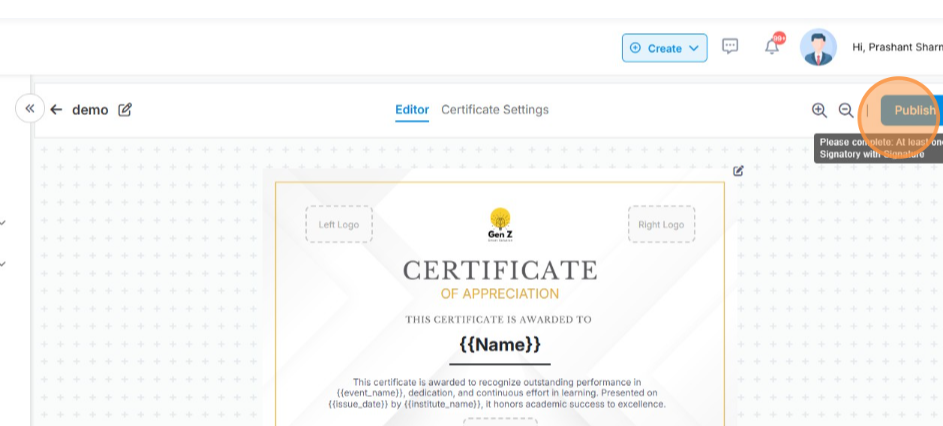
12. Once done, click Publish — your certificate is now live.
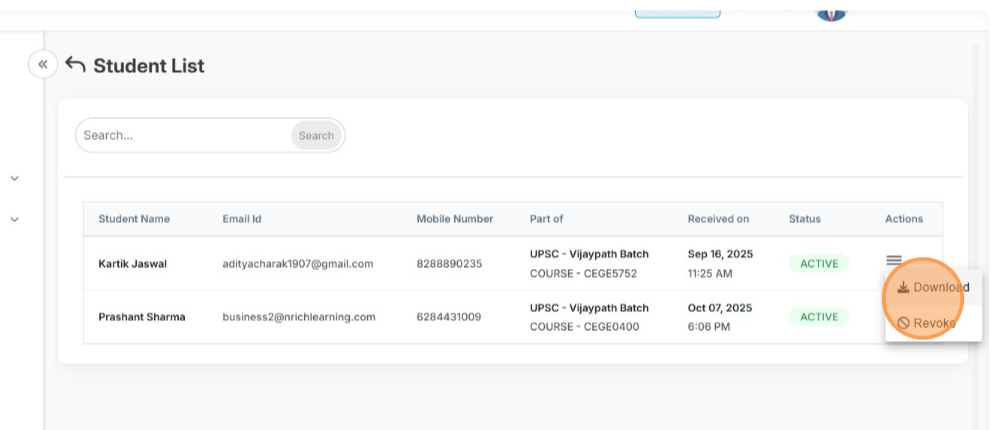
13. In the Action section (under Published Certificates), you’ll find two options:

14. Student List: View all students who have received certificates.
15. Issue: Manually issue certificates to specific students by selecting the Course, Batch, and Student, then click Issue Certificate.
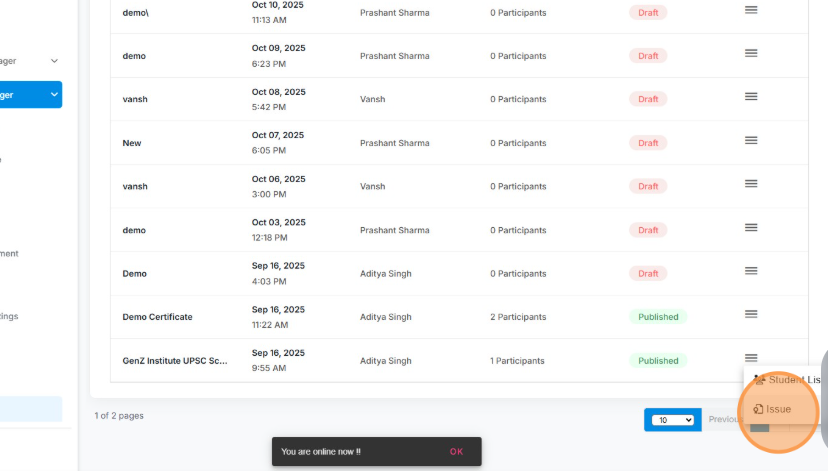
16. Click on Issue button

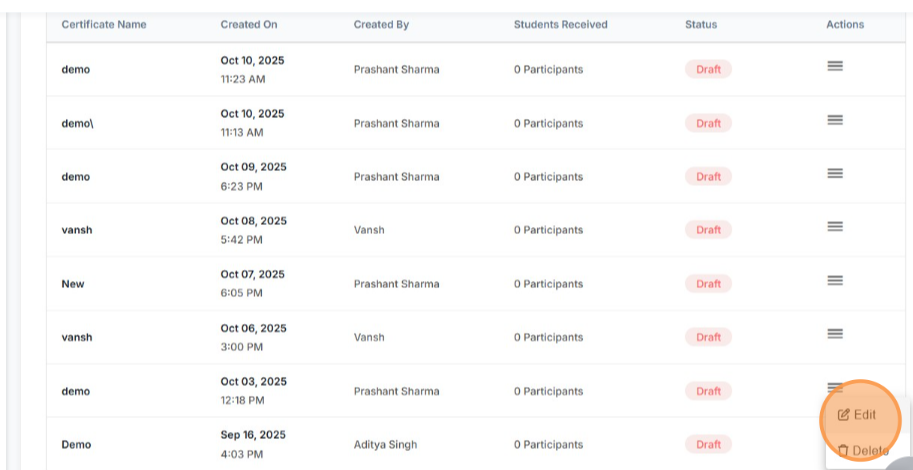
17. You will be have two options edit and delete
Edit – you’ll be able to edit the certificate
and with the delete button you’ll be able to delete the certificate.
Last modified: October 15, 2025