
Steps to Create a Blog Post
- Login to Admin Dashboard
Visit your Nrich admin area
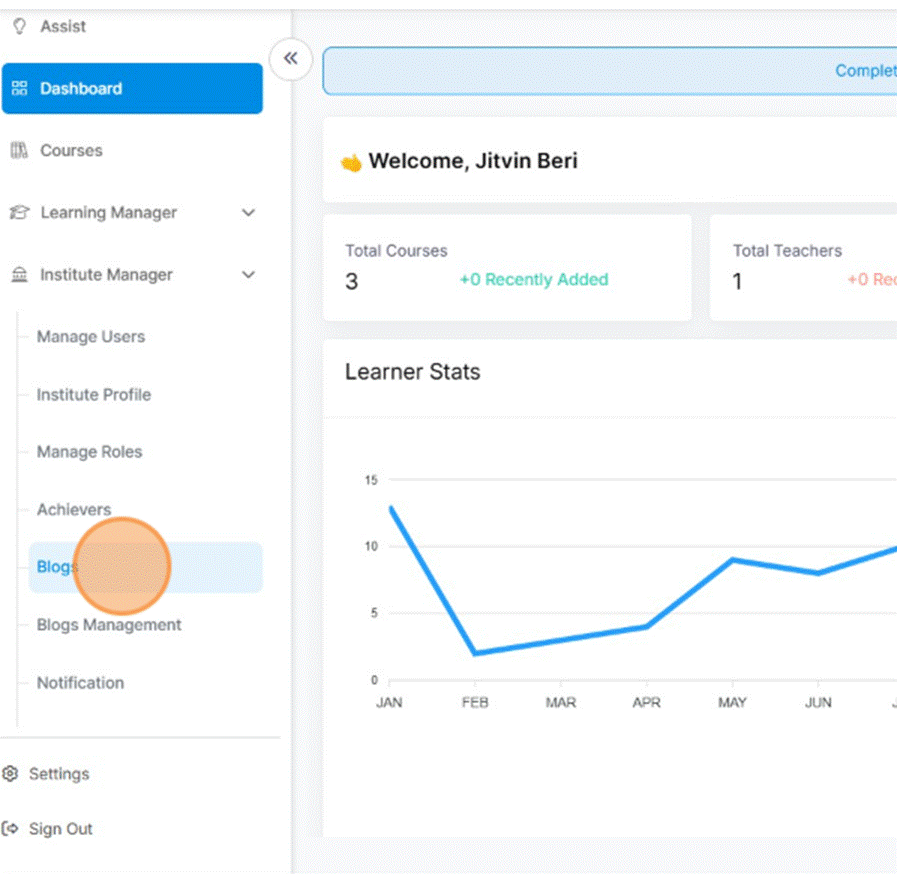
- Go to Institute Manager
In the sidebar or main menu, click Institute Manager.

- Select “Blogs”
Inside Institute Manager, locate and click the Blogs section.
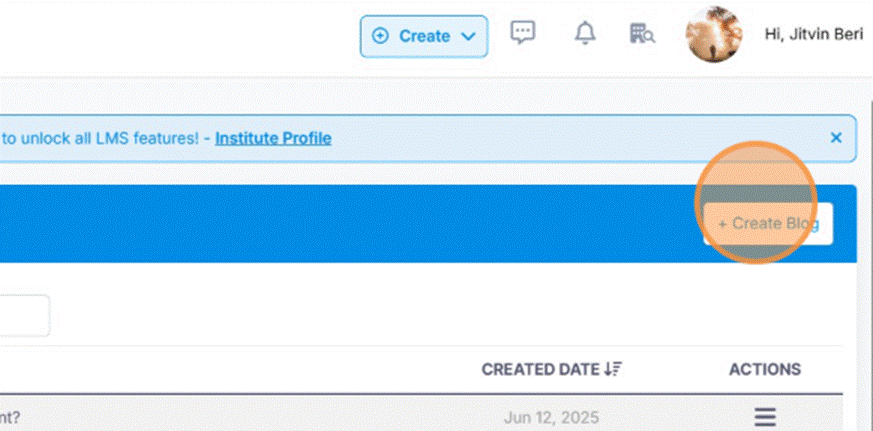
- Click “+ Create Blog”
Use the Create Blog button to start a new post.
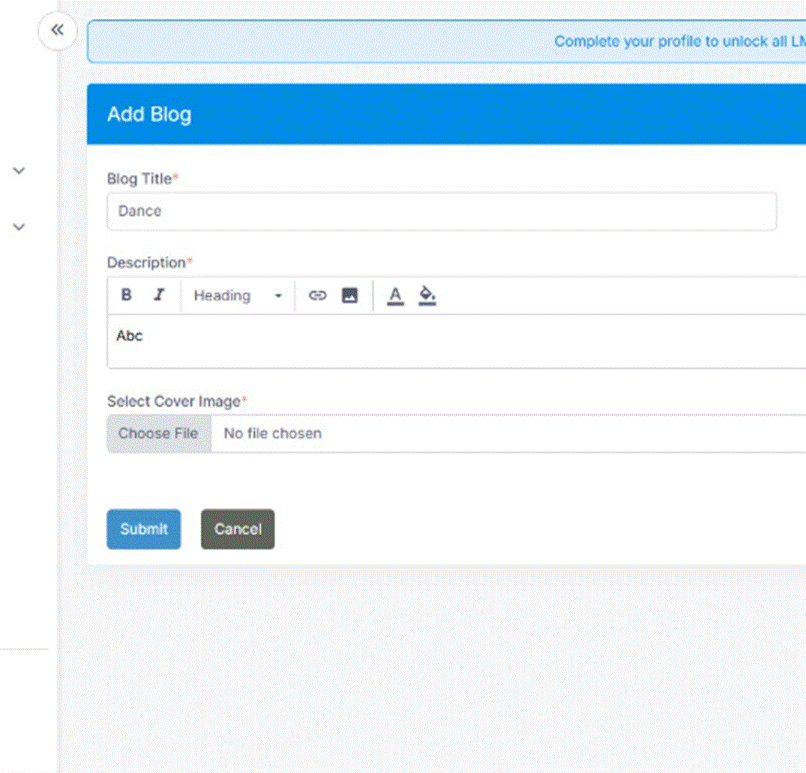
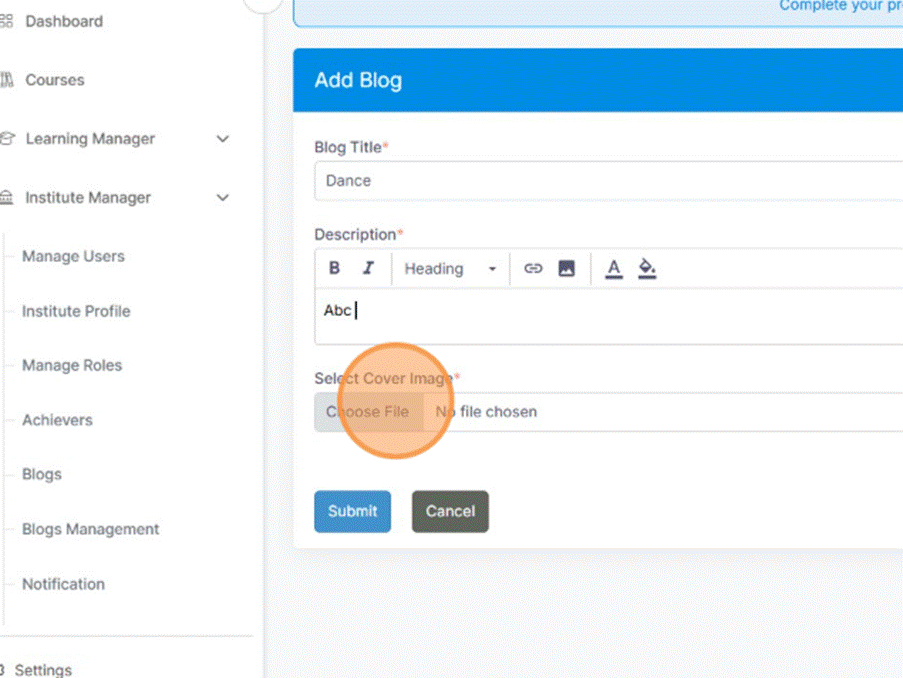
- Enter Blog Title
Click the Enter Blog Title field, and type your desired title.
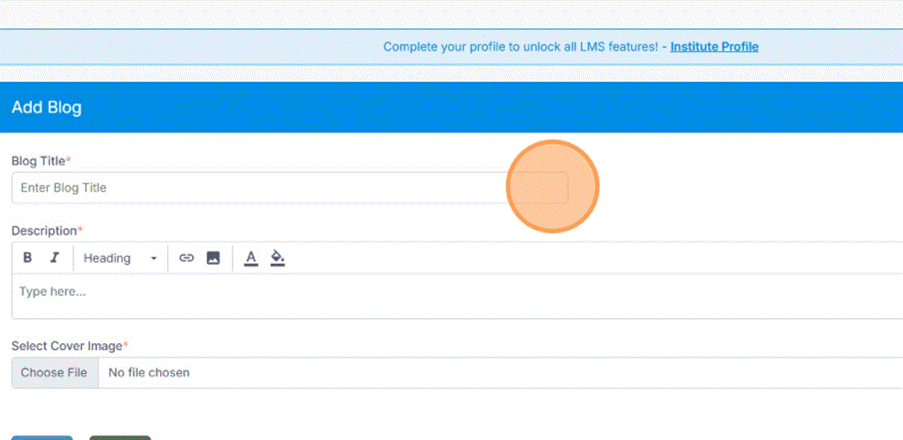
- Add the Blog Content / Body
In the body field (or editor area), write or paste the content (e.g. “Abc” or your article text).
- Upload an Image / Featured Media (Optional)
If there’s a Choose File or “Upload” option, click it and select your image file.
- Save the Draft / Intermediate Save
Click Save to temporarily save the blog post draft (if supported).
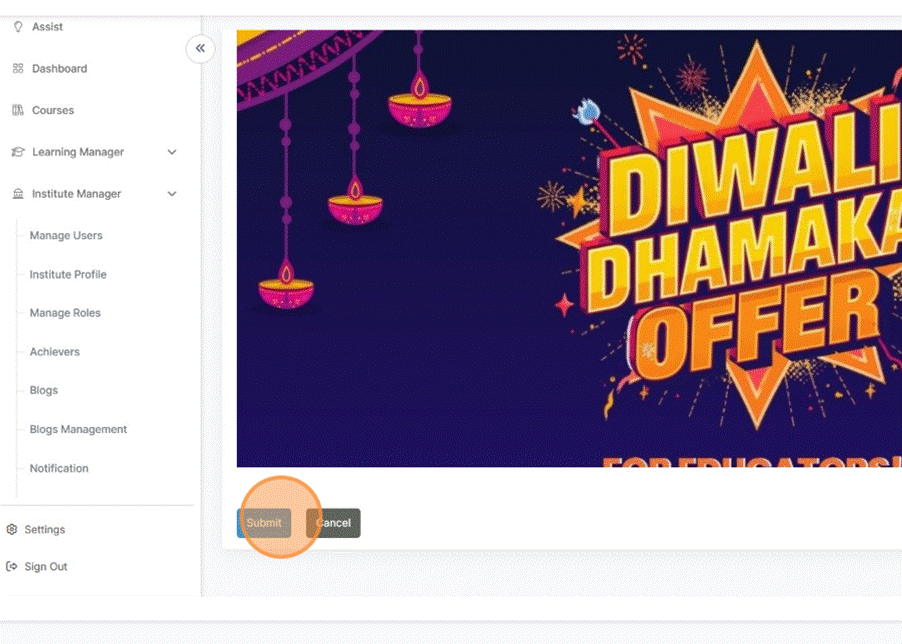
- Submit / Publish
Click Submit (or Publish) to make the blog live.
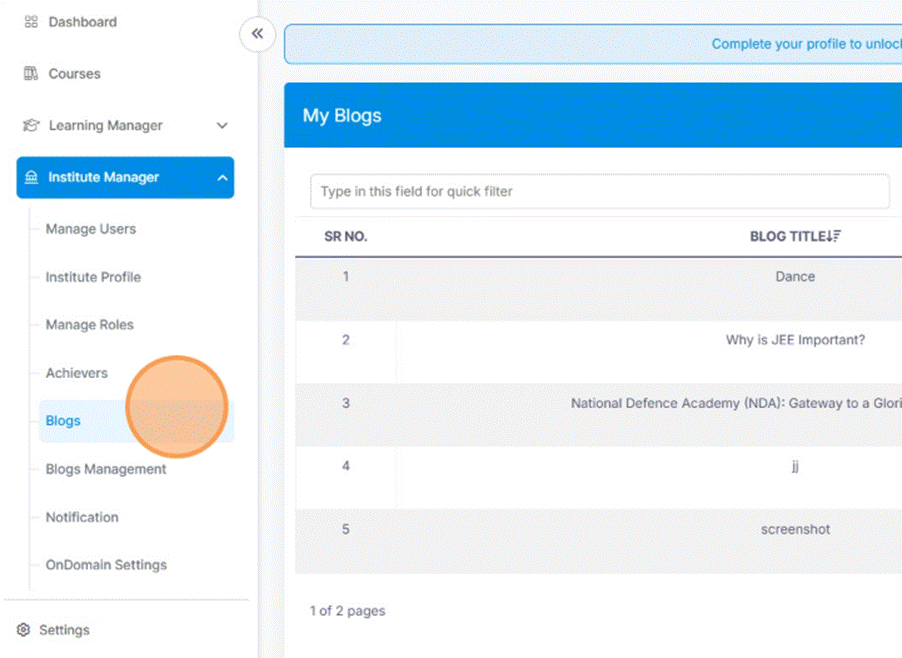
- Go to Blog header again
You’ll see a “Blog created successfully” message confirming the post went live.
Was this article helpful?
YesNo
Last modified: October 15, 2025