
- Log on to https://console.cloud.google.com/ to Create a Google OAuth Client ID
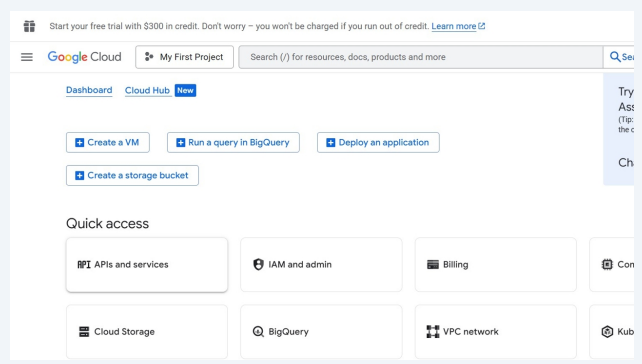
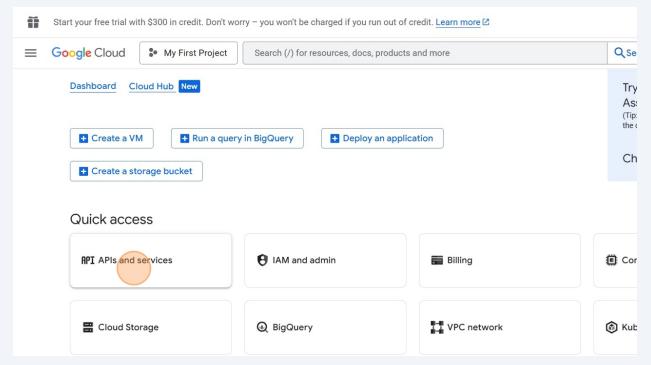
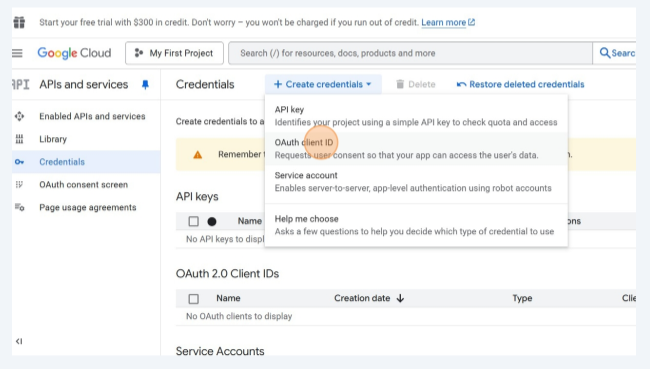
2. Under Quick Access Find the Option “API’s and Services”
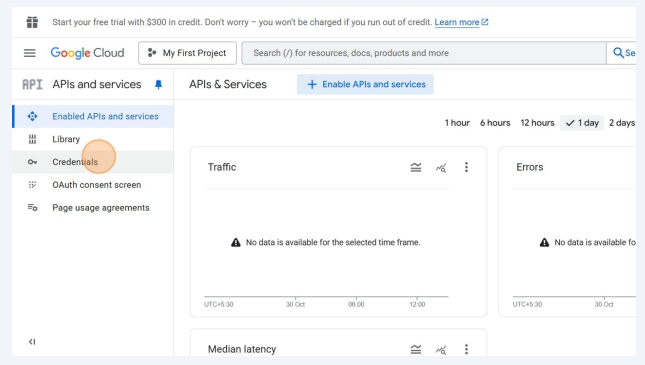
3. On the left Click “Credentials”
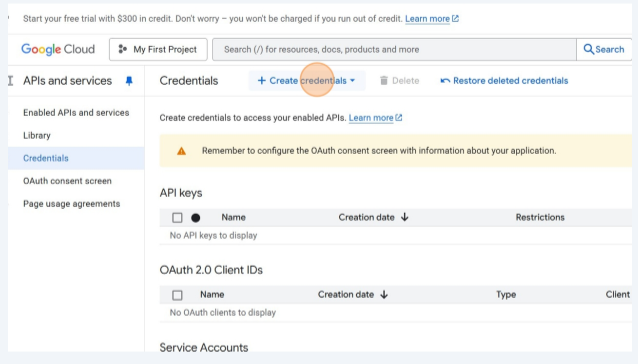
4. And On the Top naviagation of this page you can Find a button “Create
credentials” click to proceed
5. Click “OAuth client ID”
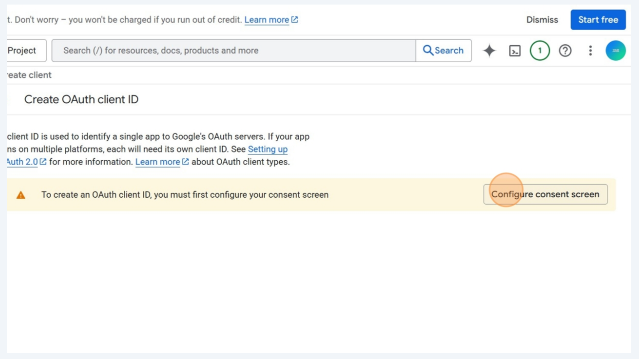
6. Click “Configure consent screen”
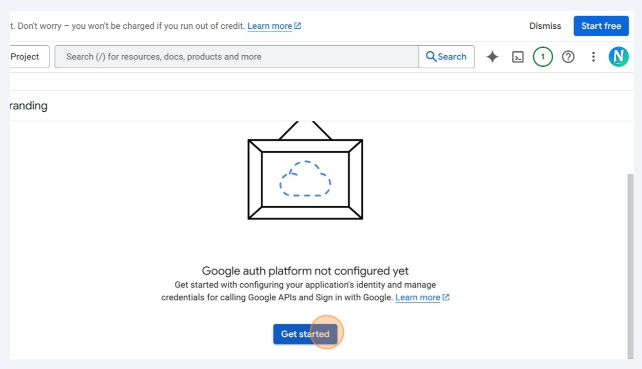
7. Click “Get started”
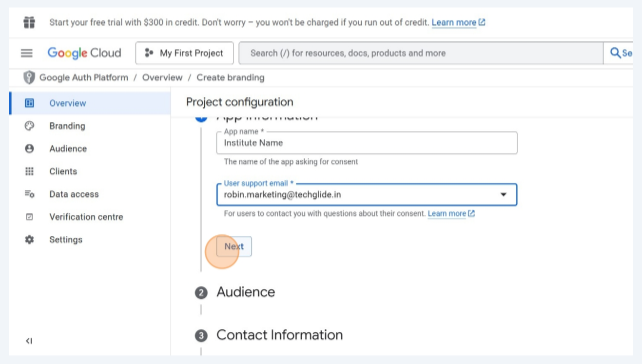
8. Select the Email Id from the dropdown
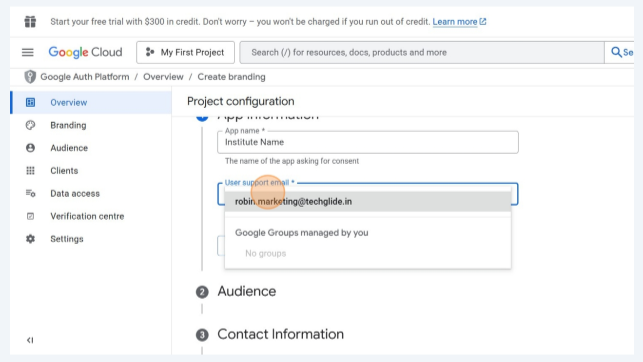
9. Once Selected by Clicking on “Next” you can Go ahead
10. Select External
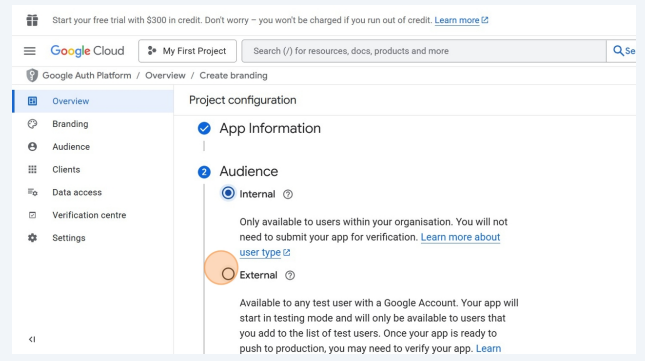
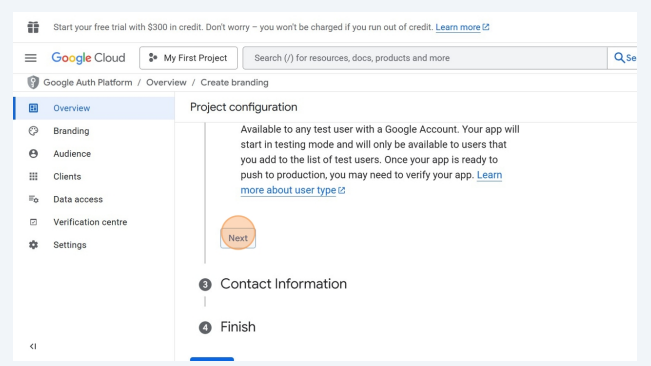
11. Click “Next”
12. Fill the Contact Information and Click “Next”

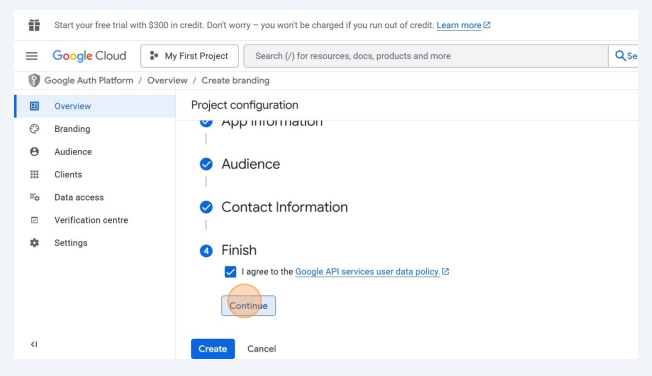
13. Click the “I agree to the
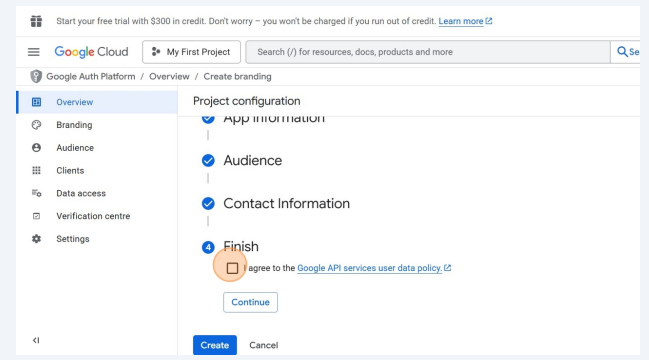
14. Click “Continue”
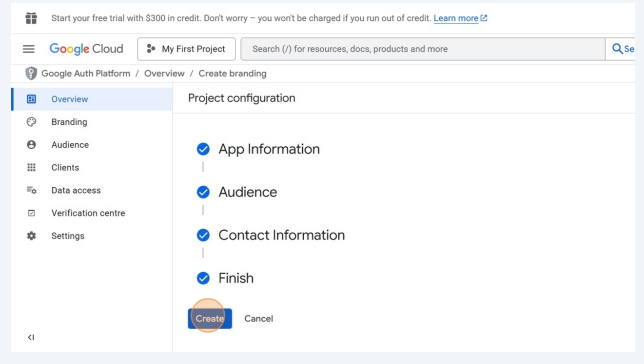
15. Click “Create”
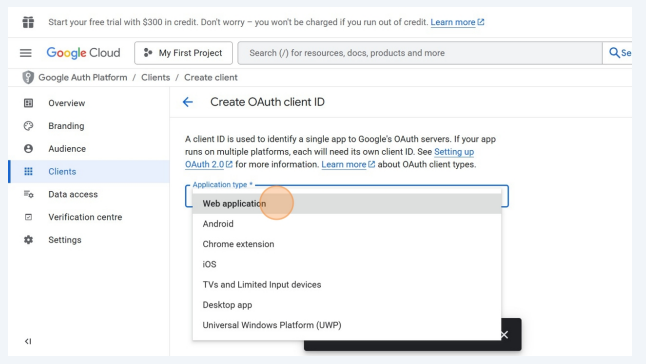
16. Click “Create OAuth client”

17. Click “Web application”
18. Click “Add URI”
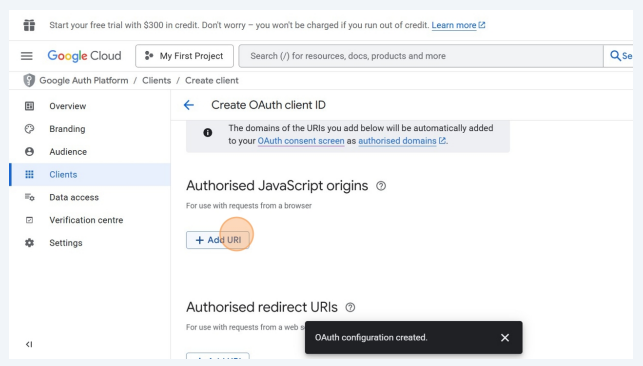
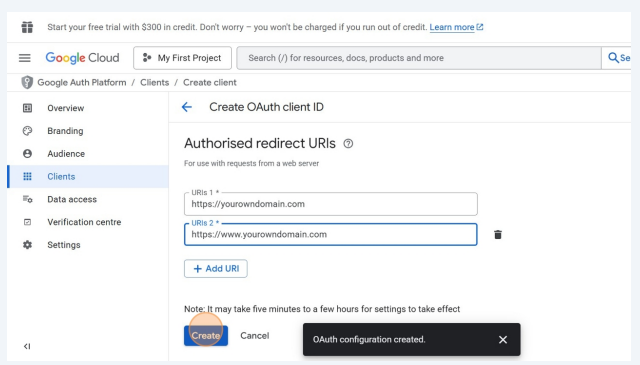
19. Add URL 1 with https://yourdomainname.com Under Javascript Origins

20. Add URL 2 https://www.yourdomainname.com Under Javascript Origins

21. Add both URLs again Under Authorised redirect Urls and then Click Create
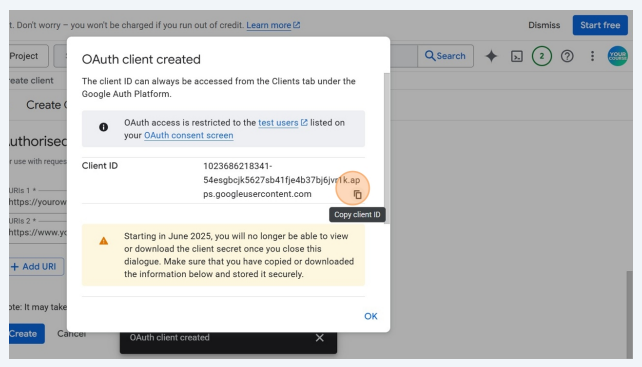
22. Now your OAuth Client ID is been Created click the Icon to Copy the Code
23. Go to Nrich Learning >> Setting’s Page >> Login Settings Paste the Client ID under
“Enable Google Sign in”
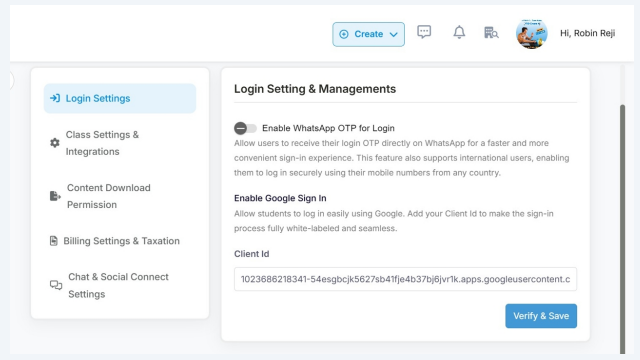
24. Click “Verify & Save”

25. Once Clicked it will trigger the Google popup Box to verify the Client ID

26. Once you Click Continue it will be all Set to go ahead if any of this Process is Not
been Done properly then it will Throw an error but if all the Steps done properly
then this will be Sucessfully Saved

Last modified: November 22, 2025